

We understand how difficult it is to decide what package is right for you, so we have made it simple and created this turntable and speaker packages buying guide to make sure you get exactly what you need! With one of the widest ranges of ready-made bundles we can cater to almost every customers needs, so have a look and take the guess work out of finding your perfect system!
Audio-Technica Turntables
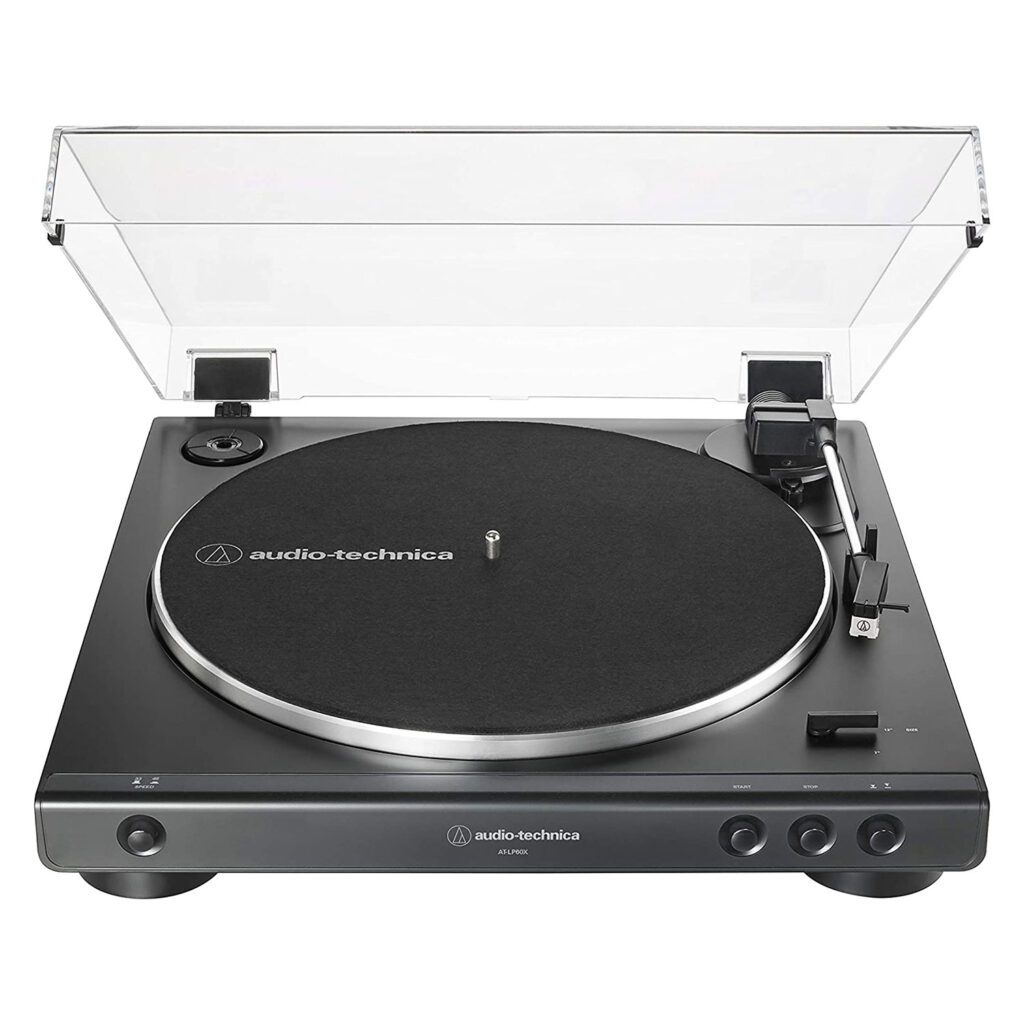
AT-LP60X
The classic turntable from Audio-Technica’s LP60 range. Holding the status as the best entry level fully automatic belt-drive turntable, it is highly affordable and bound to please any entry-level vinyl enthusiast!
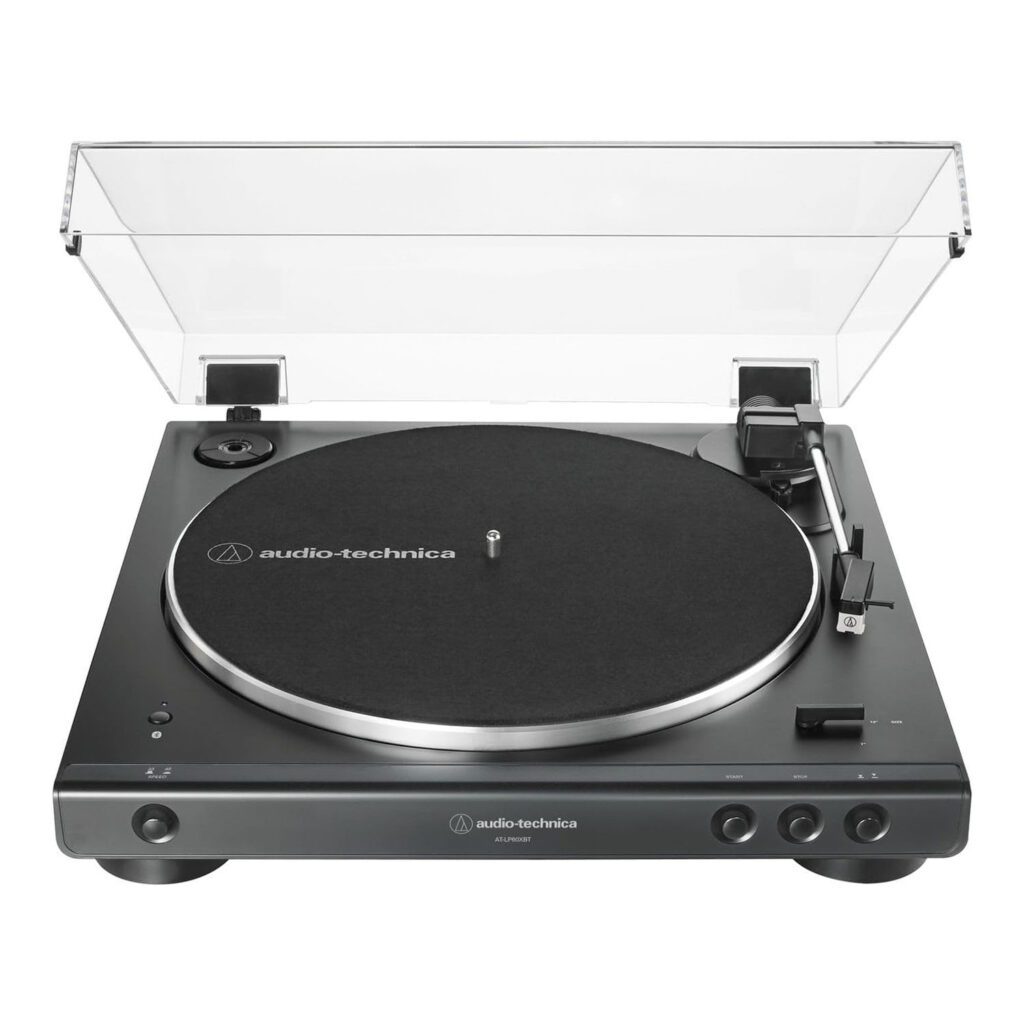
AT-LP60XBT
Same as the AT-LP60X but with the added convenience of Bluetooth connectivity. Perfect for when you want your turntable and speakers in separate places in your room!
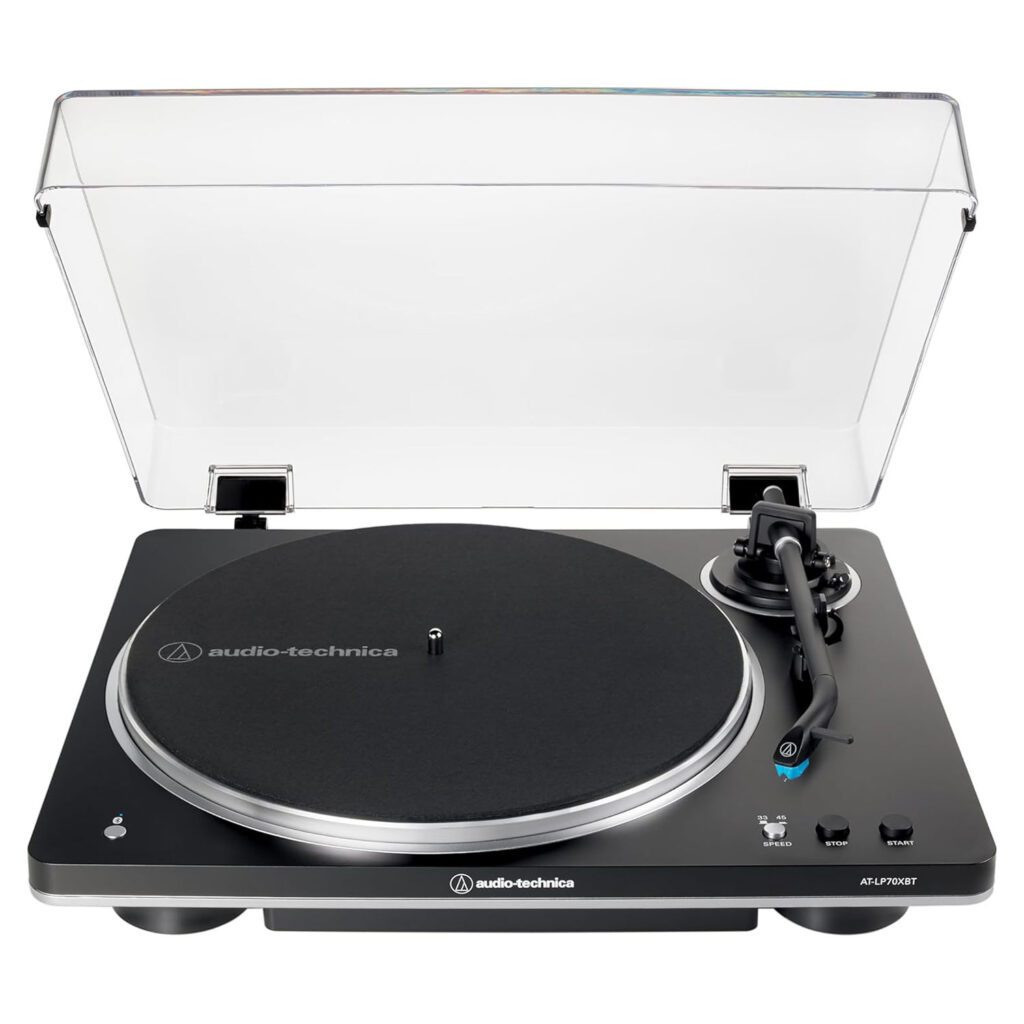
AT-LP70XBT
Audio-Technica’s new facelift to the AT-LP60XBT including all the same features with an upgraded fixed-body AT-VM95E Stylus. An updated sleek design for an incredible turntable!

AT-LPW30TK
With a upgraded features and teak-effect plinth, this fully manual belt-drive Hi-Fi turntable is designed as a stylish entry-to-mid-level deck that offers solid sound quality, upgradeable stylus options, and easy connection to amps or powered speakers.
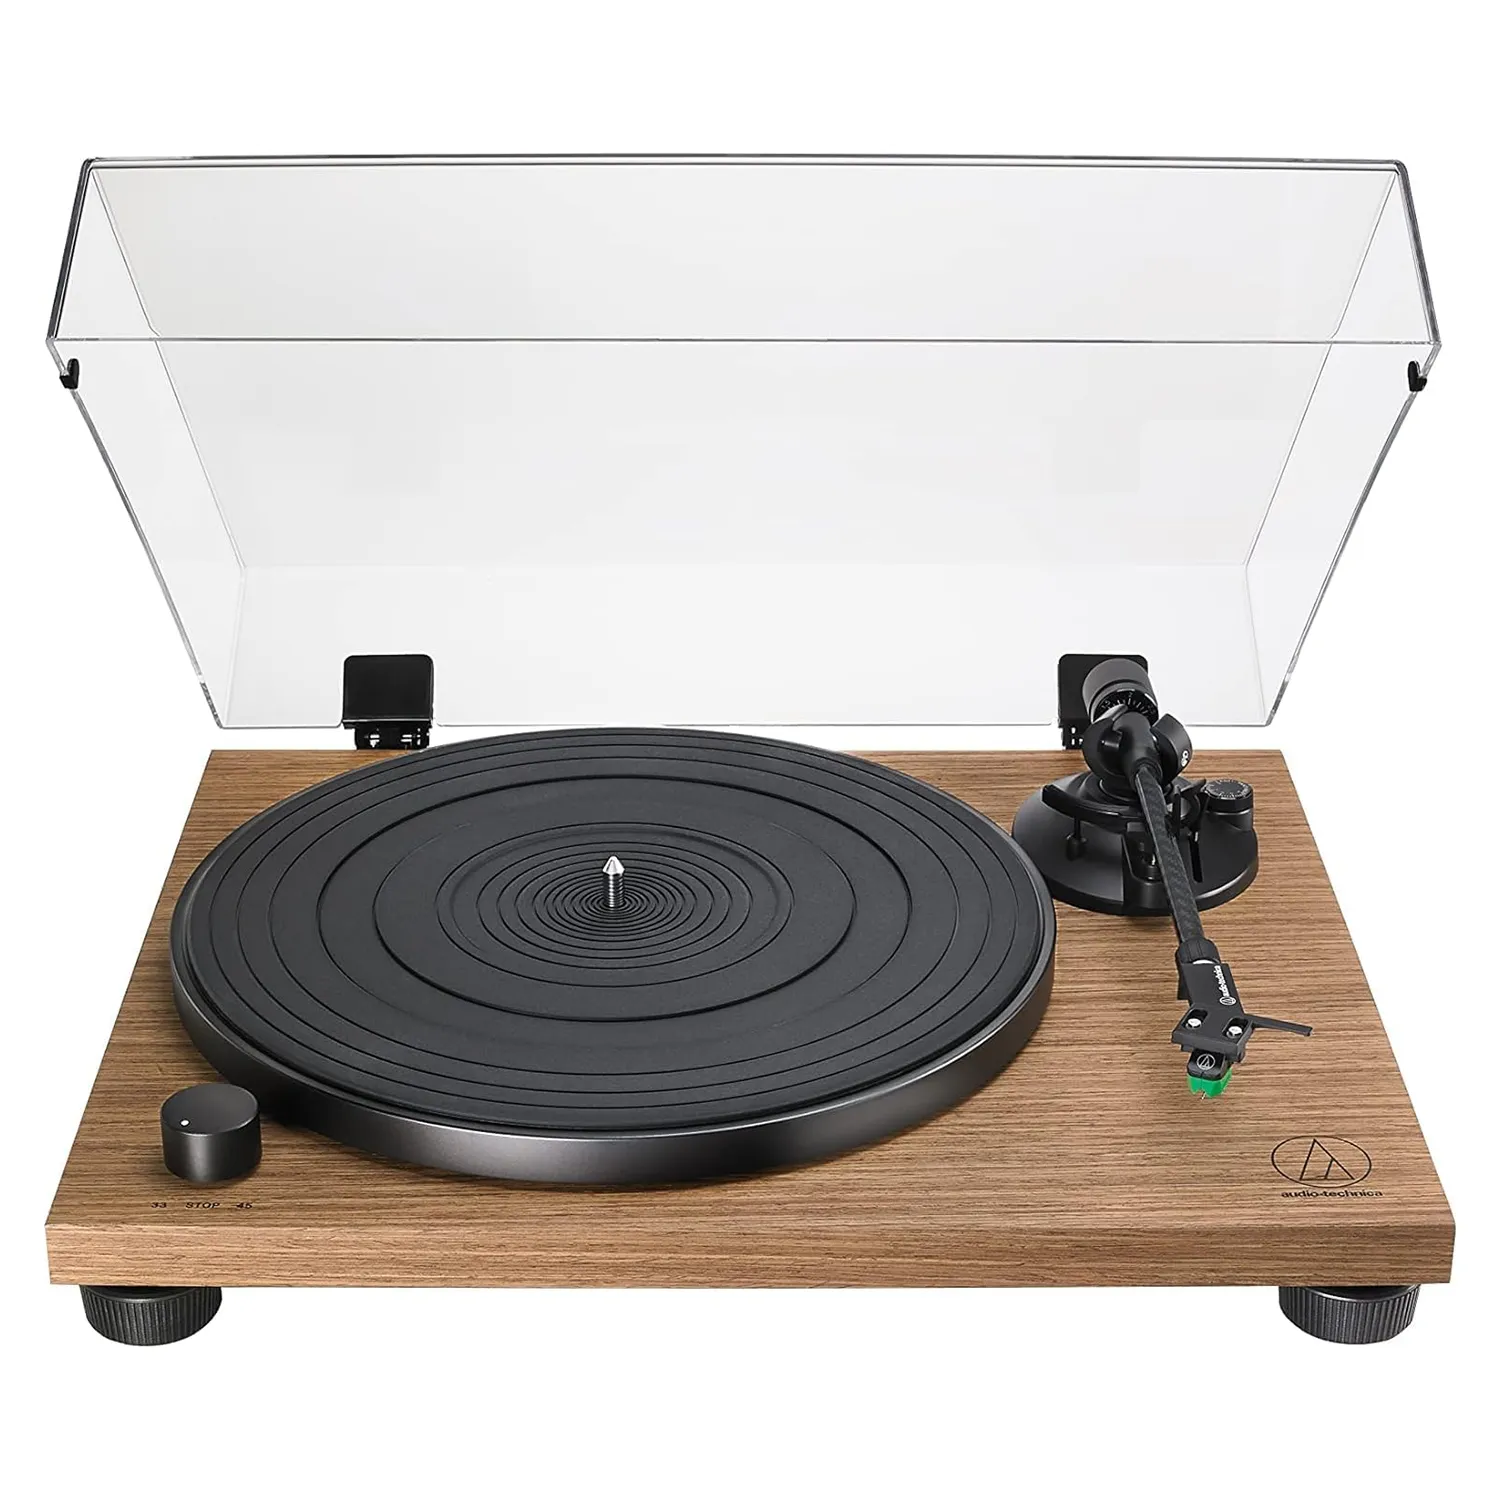
AT-LPW40WN
Aimed at vinyl listeners who want solid sound quality, speed stability, and an easy path into hi-fi playback, this manual belt-drive turntable comes in a walnut finish with a carbon-fibre tonearm and built-in switchable phono preamp
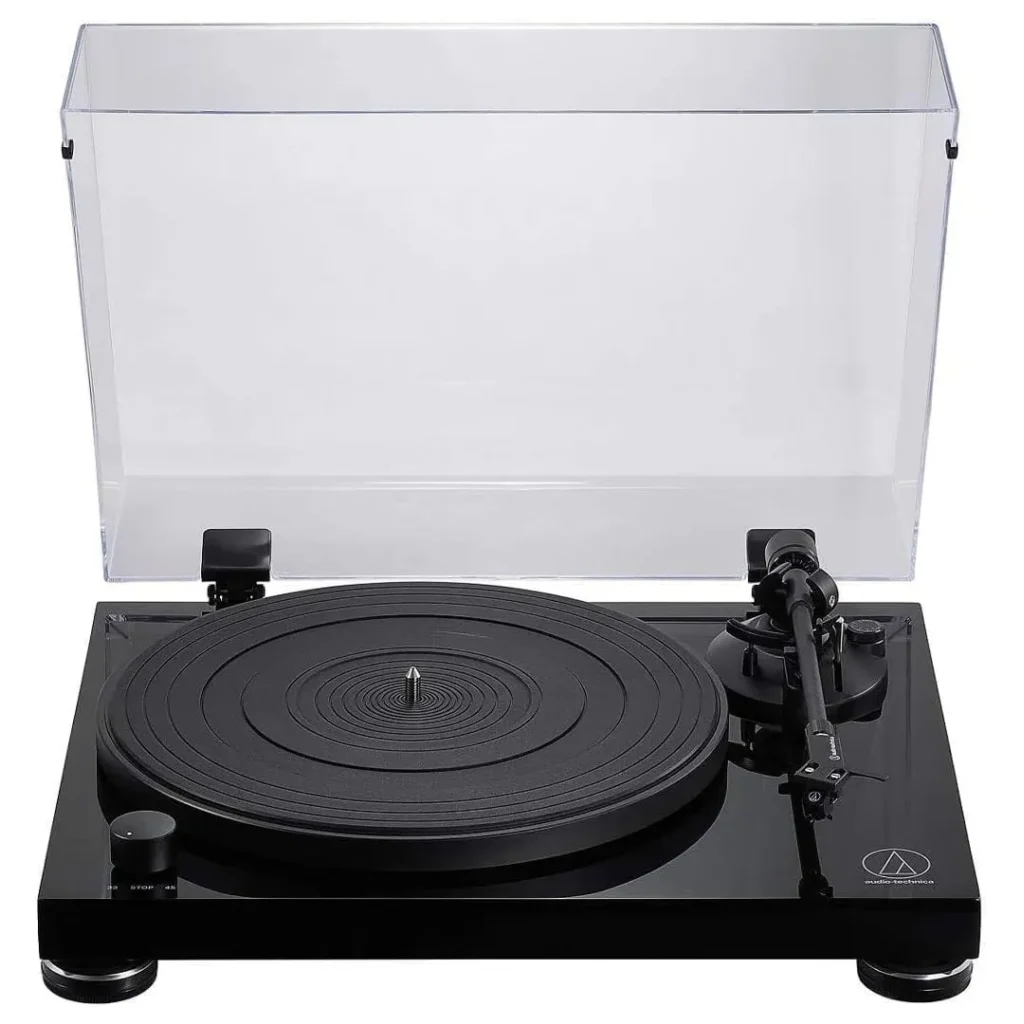
AT-LPW50PB
Praised for strong sound quality, accurate speed control, and good upgrade potential at a mid-range price, this manual belt-drive turntable includes all the features as the previous model but with a sturdier, classier feel. A real focal point for any Hi-Fi setup.
Pro-Ject Turntables
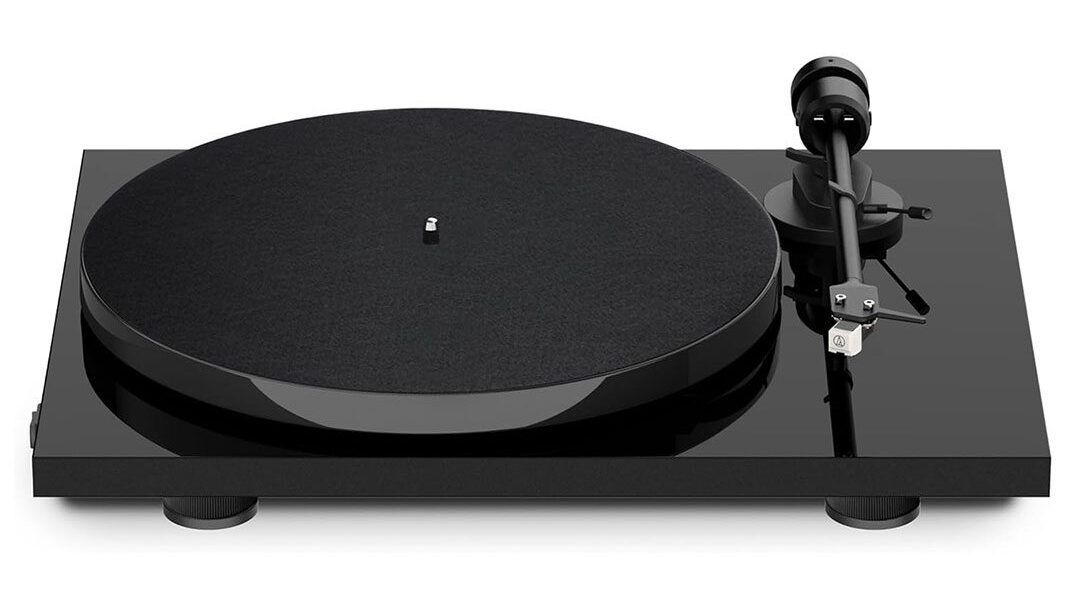
E1 Phono
The entry-level E1 range from Pro-Ject feels anything but, with it’s minimalist design and rich sound this plug & play turntable would perform perfectly in any environment!

E1 BT
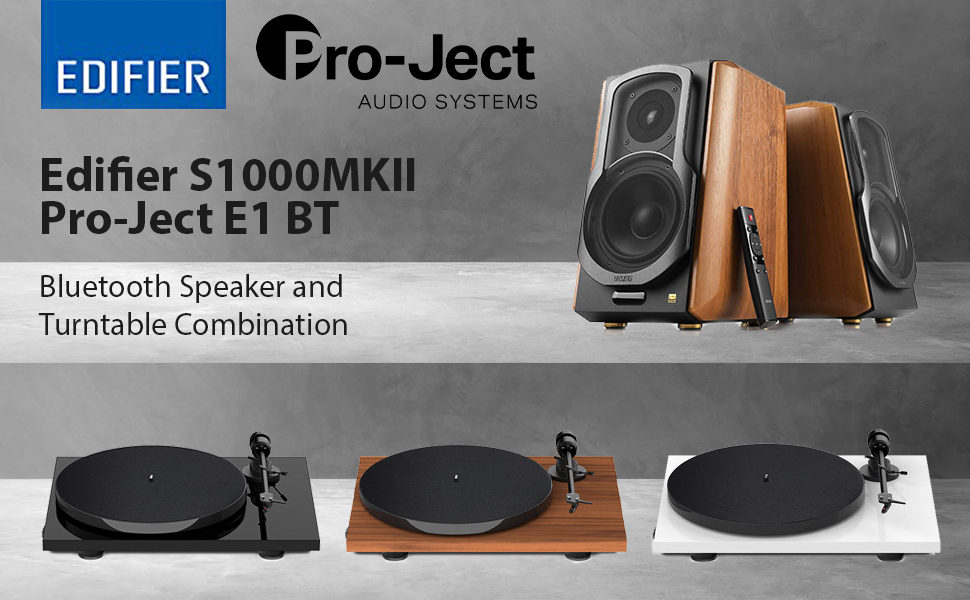
The next step up in Pro-ject’s E1 Range is the E1 BT including everything the E1 Phono offers with the added benefit of Bluetooth connectivity, allowing flexibility for your turntable and speakers.
Types of Combinations

Standard Turntable and Standard Speakers
Perfect for if you want a traditional vinyl listening experience. These packages feature a classic wired turntable connected directly to wired speakers, offering simple, reliable performance with no wireless connectivity. Ideal for purists who only plan to play records.
View Our Range HERE
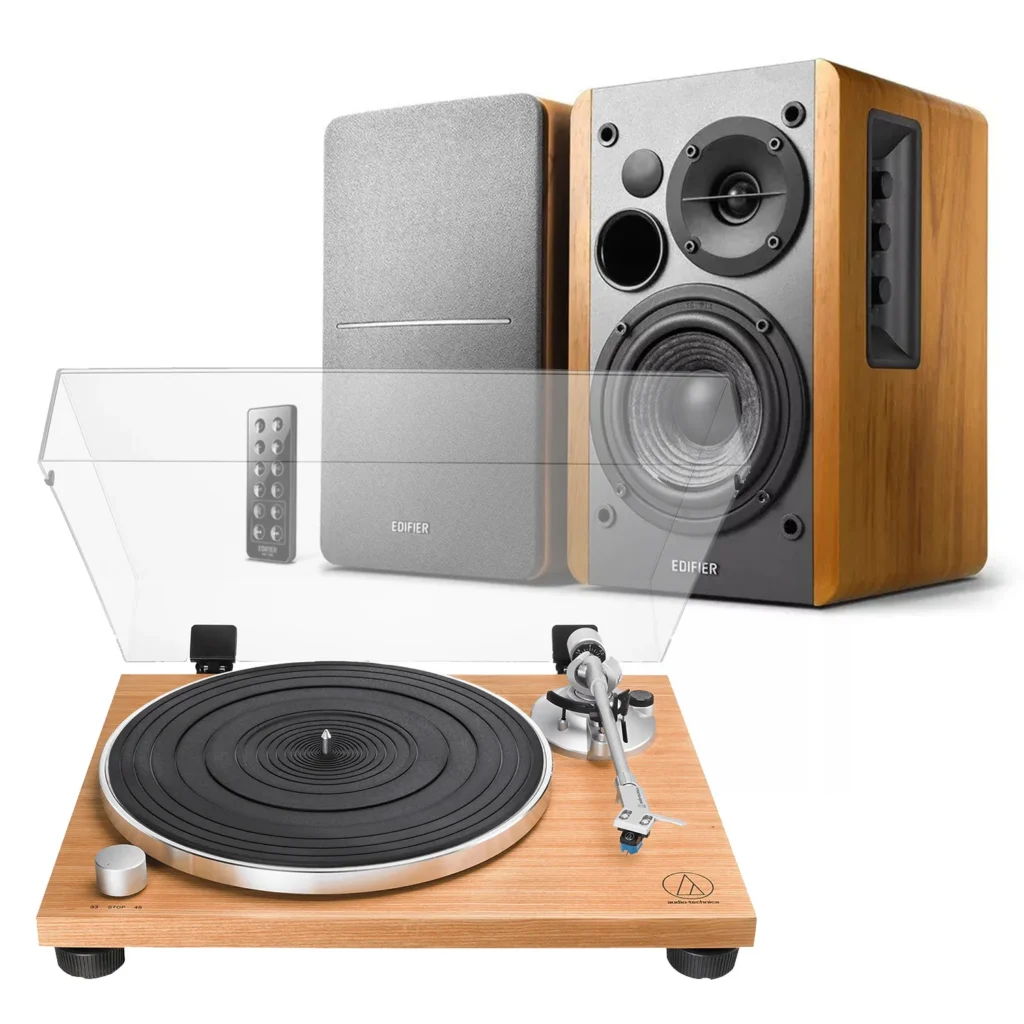
Standard Turntable and Bluetooth Speakers
A great balance of classic vinyl and modern convenience. The turntable connects to the speakers using a cable for the best record playback, while the speakers also include Bluetooth, allowing you to stream music wirelessly from your smartphone, tablet, or other Bluetooth-enabled devices.
View Our Range HERE
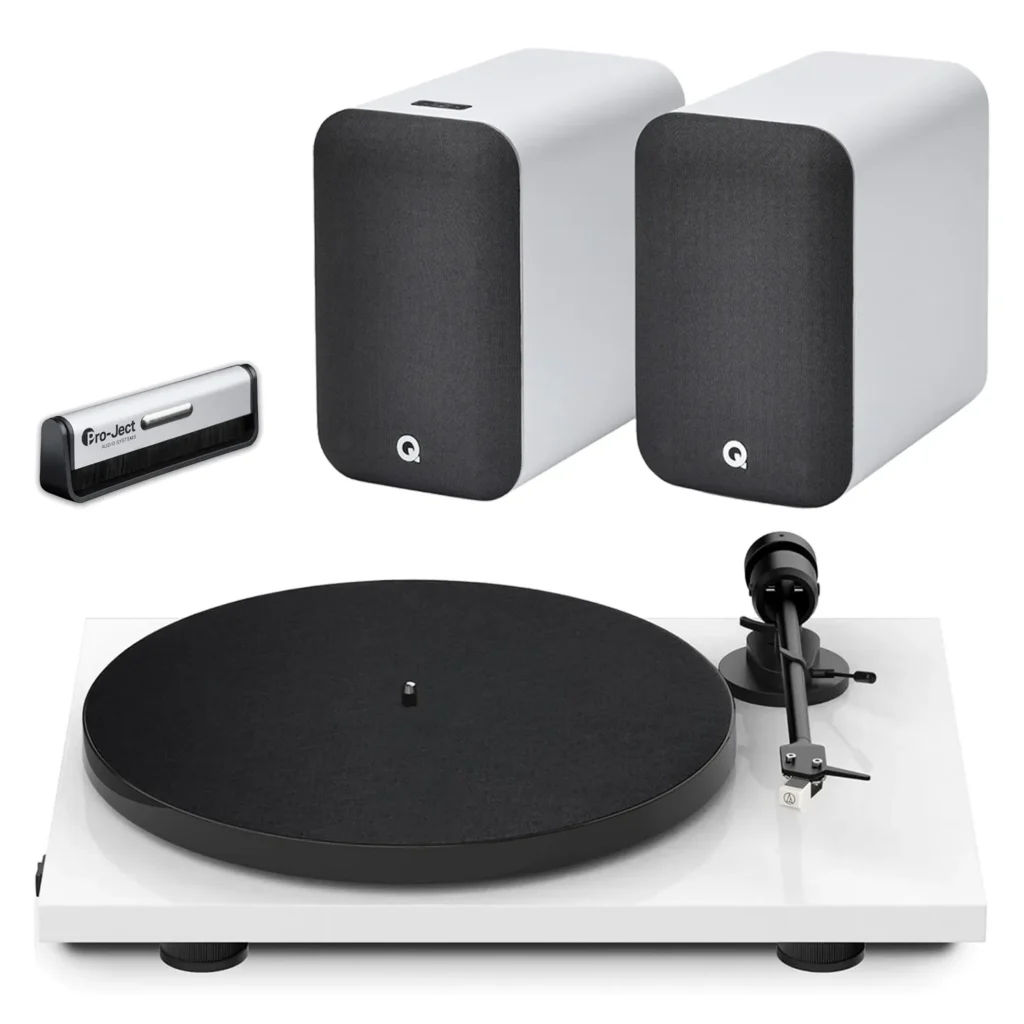
Standard Turntable and Bluetooth Speakers
Our most flexible option, combining wireless convenience with versatile listening. The Bluetooth-enabled turntable can connect wirelessly to compatible Bluetooth speakers, reducing cable clutter, while the speakers can also stream music from your phone, tablet, or laptop. Perfect for those who want a clean setup and maximum flexibility
View Our Range HERE
Our Favourites and Recommendations

Our Cheapest Combination – Audio-Technica AT-LP60X + AV:LINK Active Bluetooth Speakers
The perfect entry point for any absolute beginner, with the LP60X holding the status of best entry-level turntable and the AV:LINK speakers overperforming at their price point. This set also comes with the added benefit of Bluetooth connectivity in the speakers for when you want to listen to something you haven’t yet bought on vinyl.
Ideal as a birthday present for someone interested in exploring the world of vinyl, with plenty of options to upgrade when the time is right!
£179.99 – SHOP HERE

Our Best Seller – Audio-Technica AT-LP60X + Edifier R1280T Active Speakers
Our most popular package, an excellent all-in-one vinyl starter system with a retro but modern feel that combines both ease of use and impressive sound quality. This product receives the highest praise across our selling platforms, reflecting strong customer satisfaction for both sound performance and value. It simply is unbeatable at this price point.
It’s perfect for customers who want a stylish, reliable, and beginner-friendly record player setup that sounds far better than entry-level suitcase turntables, without the complexity of building a separates system.
£229.99 – SHOP HERE

Our Most Premium Package – Pro-Ject E1 BT + Q Acoustics M40 Micro-Tower Speakers
Our most premium plug and play system combines the Pro-Ject E1 BT Bluetooth turntable with the Outstanding Q Acoustics M40 active micro-tower speakers. Fill your home with full-size, powerful and immersive sound without a large imposing system. At just 71cm high, these petite pillars are compact and discreet and fit seamlessly into any interior space.
This package is designed to offer all the strength of powerful, precise and engrossing sonic performance, perfect for anyone who wants impressive sound without all the clutter and cost of a full Hi-Fi system.
£839.99 – SHOP HERE
Shop The Range
-

Audio-Technica AT-LP60X Turntable + Edifier M60 Desktop Bluetooth 5.3 Speakers – Black
£259.99 -

Audio-Technica AT-LP60X Turntable + Edifier M60 Desktop Bluetooth 5.3 Speakers – Classic Oak
£259.99 -

Audio-Technica AT-LP60X Turntable + Edifier M60 Desktop Bluetooth 5.3 Speakers – White
£259.99 -

Audio-Technica AT-LP60X Turntable + Edifier MR3 Powered Bluetooth Speakers – Black
£229.99 -

Audio-Technica AT-LP60X Turntable + Edifier MR3 Powered Bluetooth Speakers – White
£229.99 -
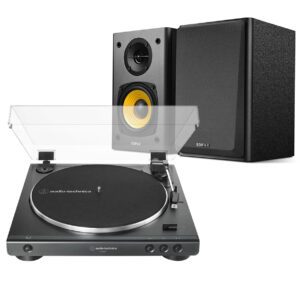
Audio-Technica AT-LP60X Turntable + Edifier R1000T4 Black Speaker Package
£209.99 -

Audio-Technica AT-LP60X Turntable + Edifier R1000T4 Maple Speaker Package
£209.99 -

Audio-Technica AT-LP60XBT Bluetooth Turntable + Edifier MR3 Bluetooth Speakers – Black
£269.99 -

Audio-Technica AT-LP60XBT Bluetooth Turntable + Edifier MR3 Bluetooth Speakers – White
£269.99
It doesn’t matter if you are a beginner, returnee or experienced vinyl fan, these combinations have the ability to impress the seasoned audiophile whilst also being simple enough for a beginner to enjoy. With all of these systems having Plug and Play designs, set-up in a matter of minutes and dive straight into your records.
Once purchased, your turntable is extremely easy to set up. Here is an example of how to set up an AT-LP60X.
Please watch the video below which clearly shows how to assemble:
Box Contents
Carefully remove the turntable from the packaging and verify that all of the parts and accessories are present. You should have:
- Die-cast aluminium platter with the drive belt attached to the bottom ring of the platter
- Audio-Technica slip mat
- Dust cover and two dust cover hinges
- Power supply
- Analog audio output cable (3.5 mm male to dual RCA male)
- 45 RPM adapter
- Quick Start Guide (full owner’s manual available for download here)
Connecting the belt
- Place the platter on the turntable’s centre spindle, making sure the platter is fully seated.
- Rotate the platter by hand until the large rectangular opening with the red ribbon is positioned in the upper left corner of the turntable (the 10 o’clock position). This will expose the brass-coloured motor pulley. (Note: make sure you are exposing the brass pulley and not the white plastic post at the 2 o’clock position.)
- While holding the platter steady, remove the tape holding the red ribbon to the platter, then use the ribbon to guide the drive belt (attached to the underside of the platter) over the brass motor pulley. Make certain the belt is properly seated on the motor pulley so it is riding in the pulley’s groove. This is important to ensure that the turntable operates at the proper speed. Also, verify that the belt is not twisted on the motor pulley.
- Once the belt is properly installed on the motor pulley, you may remove and discard the red ribbon.
Tonearm and platter preparation
- Place the slip mat on the platter and (with the tonearm still fastened to its rest) rotate the platter ten times in the clockwise direction. This is to make certain the automatic mechanism is fully cycled.
- Remove the plastic tie that is securing the tonearm to its rest and discard the plastic tie
- While holding the tonearm in the rest position, carefully remove the plastic stylus guard by slowly pulling the guard-forward. Be careful not to damage the stylus.
- The provided dust cover is designed to protect the turntable when not in use and may be closed when records are playing. Insert the two dust cover hinges on the rear of the turntable and then insert the dust cover onto the hinges.
Connection setup
- If you have purchased this turntable as part of a turntable and speaker bundle from ourselves, the switch on the back of the turntable must be set to ‘LINE’.
- Connect the power adapter cable to the turntable and plug the adapter into a convenient AC outlet.
- Connect the analogue audio cable’s 3.5 mm plug into the “Analog Out” port on the back centre of the turntable. Then plug the RCA end (red and white plugs) into your desired playback device (commonly a stereo receiver or powered speakers).
- If connecting to inputs on a stereo receiver specifically labelled “PHONO,” move the switch on the rear of the turntable to PHONO. This bypasses the turntable’s internal RIAA magnetic phono preamp, which isn’t needed since the stereo receiver’s PHONO input has the same RIAA magnetic phono preamp. If the switch is set to “Line” you may hear considerable amounts of distortion.
- If connecting to any other input on a stereo receiver (Aux, Line, Tape, CD, etc.) or connecting directly to powered speakers, move the switch on the rear of the turntable to LINE. This engages the turntable’s internal RIAA magnetic phono preamp. If the switch is set to “Phono” you may have little or no sound at all.
- If connecting the turntable to a 3.5 mm analogue AUX input on a speaker or receiver, you may use a 3.5 mm stereo AUX cable (not included). No need for additional adapter cables.
If you have any further issues during the setup or have any follow-up questions, please contact us on 01708 763623 so that we can offer you further advice.
Box Contents:
• Turntable Body
• Felt Mat
• Platter (with drive belt)
• 45 RPM Adapter
• RCA Audio Cable (approx. 1.2 m)
* Mount the product on a level surface. To avoid the effects of vibrations and acoustic pressure, do not mount the product next to such items as speakers. The product may pick up radio static if placed next to a radio. Therefore, try to keep the product away from radios. If the product is near equipment (cell phone, etc.) that emitsstrong radio waves, noise may occur *
Assembling the turntable:
* Do not connect the AC adapter until assembly is complete *
1. Set the platter on the spindle. Make certain that the platter is fully seated on the spindle.
2. Place the belt on the motor pulley (brass-coloured). Align one of the platter openings with the brass motor pulley, and, while pulling both ends of the red ribbon that
comes attached to the belt, place the belt on the motor pulley, as per the diagram. When doing this, be careful not to twist the belt.
3. Remove the red ribbon from the belt.
4. Set the felt mat on the platter. After setting the felt mat, put the 45 RPM adapter into the space made for it on the upper left.
Rotating the platter:
1. Using your hands, rotate the platter ten times.
2. Remove the tie that locks the tonearm and press the tonearm lift button to lift the tonearm.
3. Slowly rotate the turntable ten times clockwise (you may want to hold the tonearm to prevent it from
moving). This step is for resetting the auto mechanism, getting rid of any twists in the belt and making sure the belt rides smoothly along the drive rim on the underside of the platter.
Connecting the AC adapter:
1. Connect the AC adapter to the outlet.
2. Connect the AC adapter to the outlet without removing the cartridge’s protector.
3.If the platter has rotated, press the STOP button without touching the tonearm, and then wait until the tonearm returns to its original position.
Pairing a Bluetooth device:
* Place the device within 1 m (3.3′) of the product to perform pairing correctly *
1. Set your Bluetooth headphones, speakers, etc. to pairing mode.
2. Make sure the AC adapter is connected to an outlet, and then press and hold the wireless function button (about 2 seconds). The indicator LED will flash in red and blue alternately.
3. When pairing is complete, the indicator LED lights in blue.
* The product stays in the pairing mode for 30 seconds. If pairing is not properly completed, follow the above steps again from the beginning *
Installing/removing the dust cover:
When removing the dust cover, slowly pull the dust cover out from the dust cover hinge holders. When attaching the dust cover, insert the hinges of the dust cover into the two dust cover hinge holders on the back of the body.